
Do you need to thin carrots? Yes, thinning carrots is a crucial step in growing healthy, large root vegetables. If you don’t thin them, your carrots will be small, crowded, and less flavorful. This guide will show you exactly why, when, and how to thin your carrot seedlings for the best harvest.
Carrot seeds are tiny, and often, many more germinate than you actually need. If left unchecked, these densely packed seedlings will compete fiercely for sunlight, water, and nutrients. This competition leads to stunted growth, meaning you’ll end up with a harvest of small, often forked, and less appealing carrots. Proper spacing carrot seedlings is not just about aesthetics; it’s about giving each developing root the space it needs to reach its full potential.
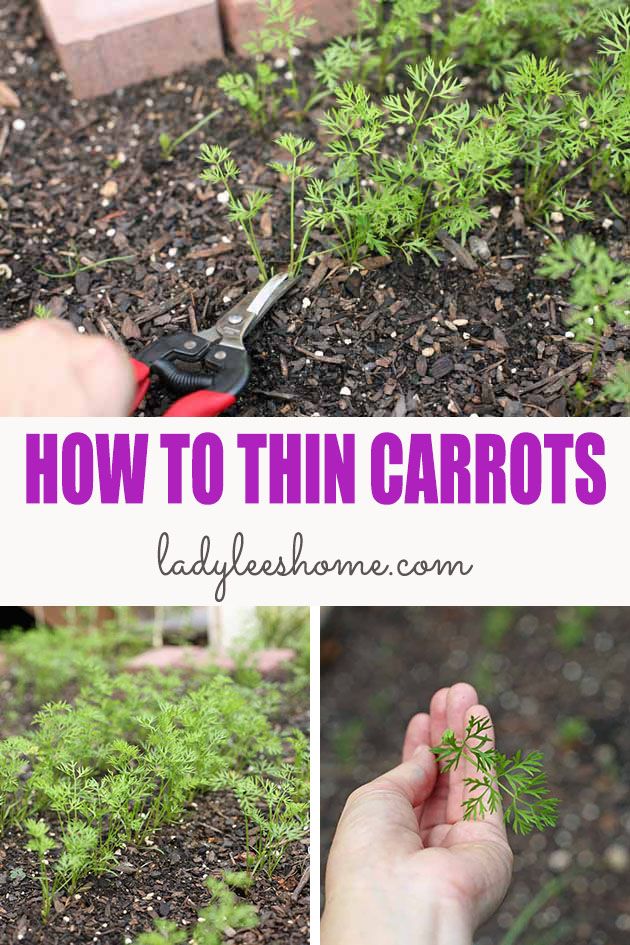
Image Source: ladyleeshome.com
Why Thin Carrots? The Science Behind Spacing
Think of it like a crowded classroom. If there are too many students in one space, they can’t all get the teacher’s attention, the necessary resources, or even enough room to work comfortably. The same applies to your carrot patch. Why thin carrots? The primary reasons are:
- Reduced Competition: Young carrot plants, or seedlings, vie for the same limited resources: water, sunlight, and nutrients in the soil. When they are too close together, they simply cannot access enough of these essentials to grow large and healthy.
- Improved Root Development: Each carrot needs a specific amount of space to swell and develop its characteristic taproot. Overcrowding restricts this expansion, resulting in smaller, misshapen roots.
- Enhanced Air Circulation: Dense plantings can lead to poor air circulation, which creates a moist environment conducive to fungal diseases and pests. Proper spacing helps air flow, keeping the plants healthier.
- Better Disease Prevention: By reducing the number of plants and improving air circulation, you create a less favorable environment for many common garden diseases.
When to Thin Carrots: Timing is Everything
Knowing best time to thin carrots is key to success. Generally, you’ll perform the first thinning when your carrot seedlings are about 1 to 3 inches tall and have developed their first set of true leaves. True leaves are the second set of leaves that appear, and they look different from the initial, small, rounded cotyledon leaves.
- First Thinning: Aim for this stage when the plants are small and easy to handle. This is typically about 2-4 weeks after germination, depending on your soil temperature and variety of carrot.
- Second Thinning (Optional): Some gardeners find a second thinning beneficial, especially if germination was very dense or if the plants have grown a bit more. This second pass can be done when the remaining carrots are about 2-4 inches apart, further refining the carrot plant spacing.
Crucially, don’t wait too long! The longer you delay, the more established the root systems become, and the harder it is to remove excess plants without disturbing the ones you want to keep. Pulling a tangled root can also dislodge its neighbors.
How to Thin Carrots in Garden: Step-by-Step Guide
There are several effective carrot thinning techniques. The method you choose will depend on your preference, the size of your planting area, and how dense your seedlings are. The goal is always to achieve the desired spacing carrot seedlings for optimal growth.
Preparing Your Thinning Tools
Before you begin, gather your tools:
- Your Fingers: Often, the most precise tools available.
- Small Scissors or Nail Clippers: Ideal for snipping unwanted seedlings at the soil line.
- A Dibber or Pencil: Useful for gently loosening soil around unwanted plants before pulling.
- A Small Trowel or Fork: For larger areas or if you need to be more careful.
- A Watering Can: For moistening the soil beforehand.
Method 1: The Gentle Pull (Best for Sparse Germination)
This is the most straightforward method, but it requires a gentle touch.
- Moisten the Soil: Water the carrot bed lightly an hour or two before thinning. This makes the soil softer and easier to pull seedlings from, minimizing disturbance to the roots of the carrots you want to keep.
- Identify Target Spacing: Determine your desired final carrot plant spacing. For most varieties, this is 2-4 inches apart.
- Select the Strongest Seedlings: Look for the healthiest-looking seedlings. They will usually be the most robust and have good leaf development.
- Gently Grasp and Pull: Hold the seedling you want to remove firmly at its base, near the soil line. Gently wiggle it back and forth as you pull upward. If it resists, do not force it – try a different approach or use scissors.
- Be Mindful of Neighbors: Try not to disturb the soil around the roots of the carrots you are keeping. If a neighbor’s root system is tangled with the one you’re pulling, it’s often better to snip it with scissors.
Method 2: The Snipping Technique (Safest for Dense Germination)
This is arguably the safest method for reducing carrot plants when they are very densely packed, as it avoids pulling any roots.
- Moisten the Soil: As with the pulling method, watering the bed first is beneficial.
- Identify Target Spacing: Visualize your target spacing.
- Use Scissors or Clippers: Carefully take a pair of small, sharp scissors or clean nail clippers.
- Snip at the Soil Line: Position the blades as close to the soil surface as possible without digging into the soil. Snip the stem of the unwanted seedling.
- Repeat: Continue snipping all the excess carrot plants, leaving the strongest ones at your desired spacing. The snipped tops will decompose back into the soil, adding a little organic matter.
Method 3: The Dibber Assist (For More Control)
This method combines pulling with a bit of soil loosening for easier removal, especially if the seedlings are a little stubborn.
- Moisten the Soil: Water the bed.
- Use a Dibber or Pencil: Gently insert a dibber, pencil, or even a chopstick into the soil next to the seedling you wish to remove, but be careful not to damage the roots of the carrot you are keeping. Push the dibber down and lever it slightly to loosen the soil around the unwanted plant.
- Grasp and Pull: Once the soil is loosened, it should be easier to grasp the seedling at its base and pull it out cleanly.
- Check for Disturbance: Ensure the surrounding carrots have not been pulled out or had their roots significantly disturbed.
Achieving the Ideal Carrot Plant Spacing
The correct carrot plant spacing is crucial for developing large, well-formed roots. While the seed packet might offer recommendations, here’s a general guideline:
| Carrot Variety Type | Recommended Spacing (After Thinning) | Notes |
|---|---|---|
| Small/Nantes Type | 2-3 inches apart | These carrots are typically cylindrical and don’t require as much girth. |
| Large/Danvers Type | 3-4 inches apart | These varieties develop thicker roots and need more room to expand. |
| Ball/Paris Market Type | 1-2 inches apart | These are very small, round carrots and can be planted more densely. |
Important Consideration: When you are thinning carrots, you are not just removing plants; you are creating the optimal environment for the remaining ones. Don’t be tempted to leave too many. It’s better to have fewer, larger carrots than a multitude of small ones.
Dealing with Carrot Overcrowding: What to Do
Carrot overcrowding is a common problem. If you’ve sown your carrots densely, you’ll need to thin them diligently.
- Don’t Hesitate: The sooner you address overcrowding, the better. Even a few days can make a difference in root establishment.
- Be Ruthless (But Precise): You must remove a significant portion of the seedlings. Aim to leave the strongest plants at your target spacing. If you’re unsure about which ones to remove, look for plants that are leaning away from their neighbors or those that appear weaker.
- Salvage the Thinnings: Don’t just discard the removing excess carrots! The young carrot tops are perfectly edible and delicious. You can use them in salads, pesto, or sauté them like other greens. This is a great way to minimize waste and enjoy an extra harvest.
Tips for Successful Carrot Thinning
Here are some additional tips to make your carrot thinning techniques as effective as possible:
- Work on a Calm Day: Avoid windy days, which can dry out the delicate seedlings and make pulling difficult.
- Use a Marker: If you have long rows, consider using small stakes or flags to mark the areas where you’ve already thinned or where you intend to thin. This prevents confusion and ensures you don’t miss spots or over-thin.
- Observe Your Plants: Pay attention to how your carrots are growing. If you notice any signs of stress after thinning (wilting, discoloration), adjust your watering or consider a very light, immediate re-thinning if necessary.
- Protect Remaining Seedlings: After thinning, gently pat the soil around the remaining seedlings to firm them in place and reduce the risk of them drying out or being dislodged by wind.
- Water Gently: After thinning, water the bed gently. Avoid strong streams of water that can wash away soil or damage the remaining seedlings.
Harvesting the Thinnings: A Bonus Crop
As mentioned, the removing excess carrots are not just waste products.
- Taste: Young carrot greens have a mild, peppery, carrot-like flavor.
- Uses:
- Salads: Chop finely and add to green salads.
- Pesto: Blend with nuts, garlic, cheese, and oil for a unique pesto.
- Sautéed Greens: Cook them in a pan with a little garlic and olive oil.
- Soups and Stocks: Add them to vegetable soups or stocks for extra flavor.
Frequently Asked Questions About Thinning Carrots
Q1: How do I know if I’ve thinned my carrots enough?
A1: You should be able to clearly see individual carrot plants with adequate space between them. For most varieties, this means about 2-4 inches of clear soil between each remaining seedling. If the plants still look very crowded, you may need to thin again.
Q2: Can I transplant thinned carrot seedlings?
A2: Carrot seedlings are notoriously difficult to transplant successfully. Their taproots are delicate and easily damaged. While it’s possible, the success rate is low, and it’s generally better to sow extra seeds and thin rather than attempting to transplant.
Q3: My carrot seedlings are very small. Should I thin them now?
A3: If your seedlings have at least two sets of true leaves and are very densely packed, it’s usually best to thin them, even if they are small. Use the snipping technique to minimize disturbance. If they are only a little crowded and have very few leaves, you might wait a few more days, but don’t delay too long.
Q4: What happens if I don’t thin my carrots at all?
A4: If you don’t thin your carrots, you will likely end up with a harvest of very small, often misshapen roots. The plants will compete so intensely for resources that none of them will be able to develop into the large, sweet carrots you desire. You might also see an increase in fungal diseases due to poor air circulation.
Q5: How much space should I leave between rows of carrots?
A5: While this blog post focuses on in-row spacing, the space between rows is also important for access and light. Aim for about 12-18 inches between rows, allowing you space to walk, weed, and harvest without damaging nearby plants.
By following these comprehensive steps and carrot thinning techniques, you can transform your carrot patch from a crowded mess into a thriving garden producing delicious, large roots. Happy gardening!