
Can you flush a radiator with a garden hose? Yes, you absolutely can flush a radiator with a garden hose as a cost-effective DIY method to clean your car’s cooling system. This guide will show you how to perform a radiator flush with a garden hose, a simple radiator flush hose technique that many find effective. We will cover everything from preparing your vehicle to the actual radiator cleaning hose method, ensuring your engine stays cool and happy. This guide is designed to be a DIY radiator flush garden hose tutorial for anyone wanting to learn how to flush a car radiator with a hose.
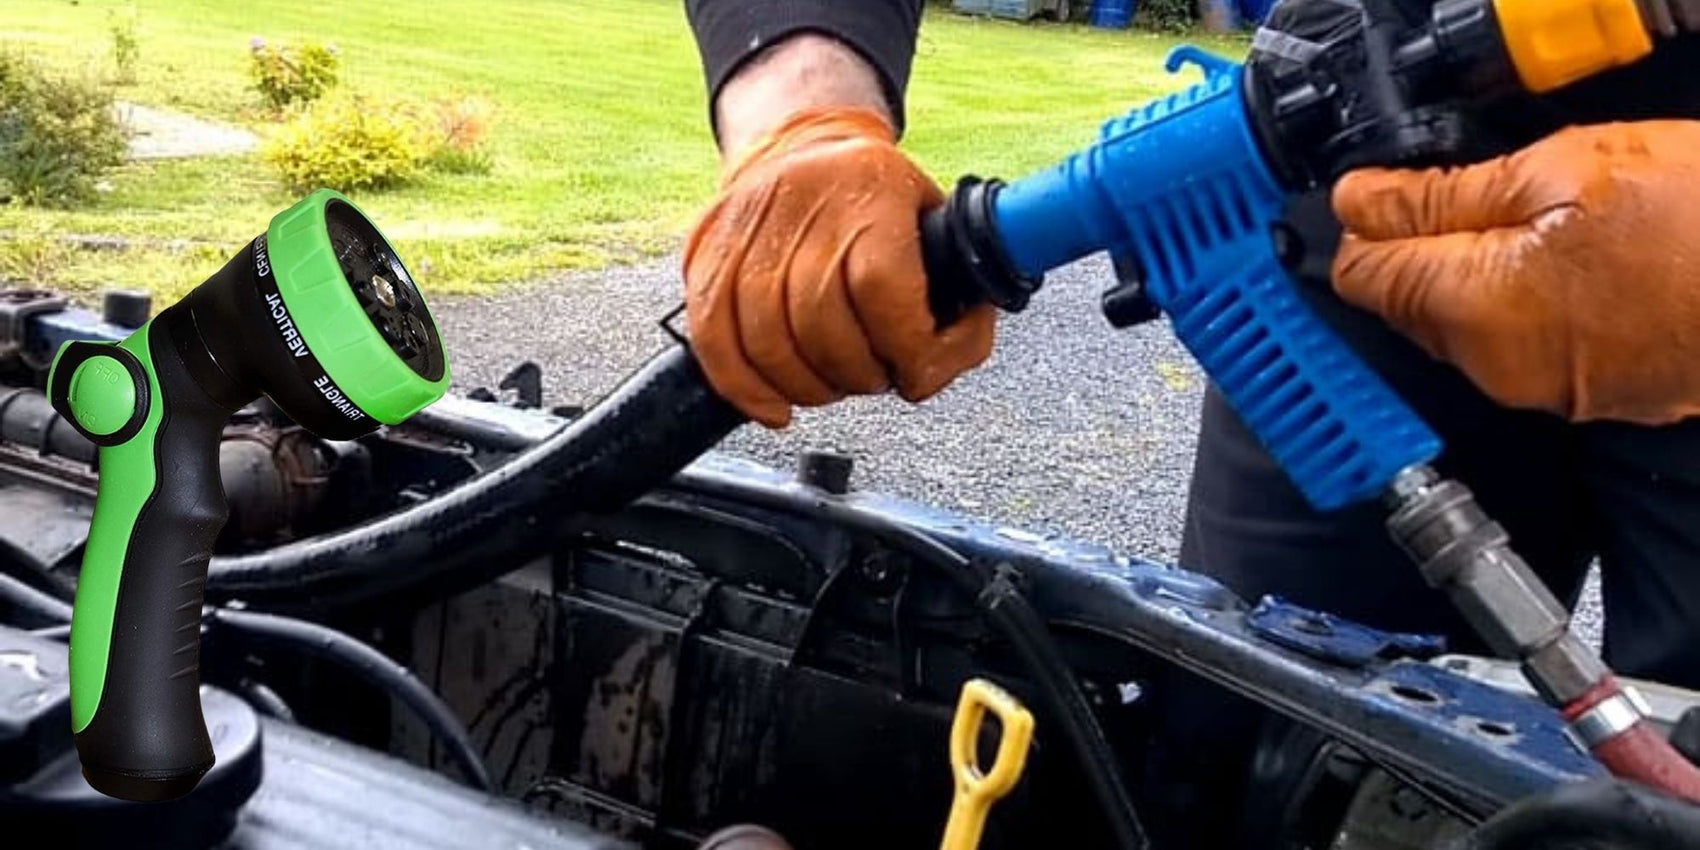
Image Source: royalhousegarden.com
Why Flush Your Radiator?
Over time, the coolant in your car’s radiator can become old and dirty. This old coolant can lead to rust and sediment buildup within the cooling system. This buildup can block passages, making your radiator less effective at cooling your engine. A clogged or inefficient cooling system can cause your engine to overheat, leading to costly repairs.
Performing a regular radiator flush helps remove this old coolant, rust, and sediment. It ensures that your cooling system can efficiently dissipate heat, protecting your engine from damage. Think of it as giving your car’s internal organs a much-needed bath to keep them working smoothly.
Signs Your Radiator Needs Flushing
Several signs indicate it’s time for a radiator flush:
- Overheating: If your car’s temperature gauge consistently reads higher than normal, especially in traffic or when climbing hills.
- Discolored Coolant: Coolant that looks murky, rusty, or has particles floating in it is a clear sign of contamination.
- Low Coolant Level: While not always a direct sign of needing a flush, a recurring low coolant level could indicate internal leaks caused by corrosion, which a flush can help address.
- Rust or Sediment in the Radiator Cap: If you see rust flakes or gritty sediment when you check your radiator cap.
- Sludgy Buildup: A thick, sludgy substance in the radiator or expansion tank.
Regular maintenance, including a cooling system flush garden hose job, can prevent these issues from arising.
Preparing for Your Radiator Flush
Before you start, gather all the necessary tools and supplies. Having everything ready will make the process smoother and safer.
Essential Tools and Supplies
- Garden Hose: A standard garden hose is your primary tool. Ensure it’s long enough to reach your car’s radiator area comfortably.
- Bucket or Drain Pan: To catch the old coolant. A large capacity bucket (5-gallon or more) is ideal.
- Pliers: For loosening hose clamps.
- Screwdrivers (Flathead and Phillips): To remove any plastic covers or brackets if necessary.
- Gloves: To protect your hands from hot coolant and chemicals.
- Safety Glasses: Crucial for protecting your eyes from splashing fluids.
- Distilled Water: You’ll need plenty of distilled water for flushing. Tap water can introduce minerals that cause scaling.
- New Coolant: The correct type and amount specified for your vehicle. Check your owner’s manual.
- Funnel: For adding new coolant.
- Rags or Shop Towels: For cleaning up spills.
- Optional: Radiator Flush Additive: A specialized chemical designed to break down rust and scale.
Safety First!
Working with your car’s cooling system can be dangerous if not done carefully.
- Never Open a Hot Radiator Cap: Hot coolant is under pressure and can cause severe burns. Wait until the engine is completely cool, which can take several hours after driving.
- Proper Disposal of Old Coolant: Old coolant is toxic and harmful to the environment. Never pour it down a drain or onto the ground. Check with your local auto parts store or recycling center for proper disposal methods.
- Ventilation: Work in a well-ventilated area.
Locating Key Components
You’ll need to know where to find specific parts of your cooling system.
- Radiator Drain Plug (Radiator Drain Tap): Most radiators have a drain plug at the bottom. It looks like a large bolt or a plastic petcock valve. This is where you’ll start the drain process.
- Lower Radiator Hose: This hose connects the bottom of the radiator to the engine. It’s a common point to disconnect for flushing.
- Upper Radiator Hose: Connects the top of the radiator to the engine.
- Expansion Tank (Coolant Reservoir): A plastic tank, usually near the radiator, where excess coolant is stored.
Step-by-Step Guide: How to Flush a Radiator With a Garden Hose
This process involves draining the old coolant, flushing the system with water, and then refilling it with new coolant. We’ll focus on the DIY radiator flush garden hose method.
Step 1: Drain the Old Coolant
This is the first step in your hose flush car cooling system.
- Ensure the Engine is Cool: Again, this is critical for safety.
- Locate the Radiator Drain Plug (Radiator Drain Tap): It’s usually at the very bottom of the radiator. Some cars have a petcock valve that can be turned by hand, while others have a plug that requires a wrench.
- Position the Drain Pan: Place your bucket or drain pan directly under the drain plug.
- Open the Drain Plug: Carefully open the radiator drain plug. If it’s a petcock, turn the lever. If it’s a plug, use the appropriate wrench. You might need to use pliers on a stubborn petcock.
- Open the Radiator Cap: While the coolant is draining, remove the radiator cap. This will allow air to enter the system and help the coolant drain faster. You should see a steady stream of old coolant flowing into your bucket.
- Consider Draining from the Lower Radiator Hose: If your radiator doesn’t have an easily accessible drain plug, or if you want to ensure more complete drainage, you can disconnect the lower radiator hose. Place your drain pan beneath the hose connection. Loosen the clamp on the lower radiator hose that connects to the radiator and gently pull the hose off. Be prepared for a rush of coolant.
Table: Coolant Drainage Options
| Method | Description | Pros | Cons |
|---|---|---|---|
| Radiator Drain Plug | Using the plug at the bottom of the radiator. | Often cleaner, less messy. | May not drain all coolant; can be hard to reach. |
| Lower Radiator Hose | Disconnecting the hose from the bottom of the radiator. | Drains most of the coolant. | Can be messy; hose clamp might be stuck; requires pliers. |
Step 2: Flush the System with Water
Now, we’ll use the garden hose to flush out the remaining old coolant and debris. This is where the “cooling system flush garden hose” part comes in.
- Connect the Garden Hose: Attach your garden hose to the radiator cap opening. If you have a garden hose adapter for this purpose, use it. Otherwise, you can try to create a seal with the hose and a rag or tape, though this can be tricky. A better approach for a robust connection is to attach the garden hose to the radiator cap opening. Some people use a special adapter that screws into the radiator neck, and then attach the hose to that.
- Turn on the Water: Slowly turn on the water from the garden hose.
- Let it Run: Let the water flow through the system. As it flows, it will push out any remaining old coolant and loose debris. You’ll see dirty water coming out of the radiator drain plug (or the disconnected lower hose).
- Keep Flushing Until Water Runs Clear: Continue flushing until the water coming out of the drain is clear. This might take several minutes.
- If Using a Radiator Flush Additive: If you’re using a radiator flush additive, follow the product’s instructions. Typically, you’ll add the additive to the system, fill it with water, run the engine for the recommended time (usually 10-15 minutes, but check the product), and then drain. After draining the additive, you’ll repeat the plain water flush until the water runs clear. This ensures all the flushing agent is removed.
Step 3: Flush the Engine Coolant Hose and Other Passages
While the water is flowing, it also helps to flush the engine coolant hose and other vital passages within your car’s cooling system. The constant flow of water helps dislodge any sediment that might be clinging to the inner walls of these components.
Step 4: Reassemble and Refill
Once the water runs clear, it’s time to put everything back together and add the new coolant.
- Close the Radiator Drain Plug: Make sure the radiator drain plug is securely tightened. If you disconnected the lower radiator hose, reattach it and tighten the hose clamp firmly. Ensure the clamp is snug but not so tight that it damages the hose.
- Fill with Distilled Water: Begin filling the radiator with distilled water using a funnel.
- Start the Engine: Start the engine and let it run.
- Add More Water as Needed: As the engine runs, the water will circulate through the cooling system, and you’ll likely see the coolant level in the radiator drop as air pockets are purged. Keep adding distilled water to the radiator until the level remains stable.
- Monitor the Temperature: Watch your car’s temperature gauge. Let the engine reach its normal operating temperature. The thermostat should open, allowing the water to circulate through the radiator.
- Turn Off the Engine: Once the engine reaches normal operating temperature and the water level is stable, turn off the engine.
- Drain Again (Optional but Recommended): For a truly thorough flush, some people recommend repeating steps 1-4 again. This helps remove any remaining tap water from the system before adding the new coolant mixture. This second drain might seem like extra work, but it’s part of a good radiator drain and flush hose procedure.
- Final Refill with Coolant Mixture: Now, drain all the distilled water one last time. Then, using a funnel, fill the radiator with the correct mixture of antifreeze and distilled water. Check your owner’s manual for the proper type of antifreeze (e.g., green, orange, pink, blue) and the recommended mix ratio (usually 50/50 with distilled water).
- Top Off the Expansion Tank: Fill the expansion tank (coolant reservoir) to the “cold” fill line.
- Bleed the System: This is a crucial step to remove air pockets that can cause overheating.
- With the engine off, open the radiator cap.
- Start the engine and let it run.
- As the engine warms up and the thermostat opens, air will be pushed out. Keep the radiator cap off and continue to add coolant/distilled water mixture as the level drops.
- You may see bubbles coming out of the radiator. This is normal.
- Once the bubbles stop and the coolant level is stable, you can put the radiator cap back on.
- Allow the engine to cool, then recheck the coolant level in the expansion tank and top off if necessary.
This simple radiator flush hose method, especially when you flush engine coolant hose sections, ensures a clean system.
Using a Radiator Flush Additive
While a simple water flush can remove loose debris, a radiator flush additive can tackle tougher deposits like rust and scale.
When to Use a Flush Additive
- If your coolant is very dirty or sludgy.
- If you suspect internal corrosion or mineral buildup.
- As part of a regular maintenance schedule for older vehicles.
How to Use a Radiator Flush Additive
- Drain Existing Coolant: Follow Step 1 from above.
- Add Radiator Flush Product: Pour the recommended amount of the radiator flush additive into the radiator.
- Fill with Distilled Water: Fill the system with distilled water.
- Run the Engine: Start the engine and let it run for the duration specified on the product label (typically 10-15 minutes). It’s usually recommended to turn on the heater to its highest setting, as this opens the heater core, allowing the flush to circulate through it as well.
- Drain the Flush Solution: Turn off the engine, let it cool, and drain the mixture as you did with the old coolant.
- Flush with Plain Water: Now, repeat the plain water flush (Step 2) several times until the water runs completely clear. This is important to remove all traces of the chemical flush.
- Refill with New Coolant: Proceed with refilling the system with the new coolant mixture (Step 4).
This method is a more intensive cooling system flush garden hose job but can be very effective.
Tips for a Successful Hose Flush Car Cooling System
- Check Your Owner’s Manual: Always refer to your vehicle’s owner’s manual for specific instructions on coolant type, capacity, and any special procedures recommended by the manufacturer.
- Patience is Key: Don’t rush the process, especially when draining and flushing.
- Clean Up Spills Immediately: Coolant is toxic. Clean up any spills promptly with rags or absorbent material.
- Dispose of Old Coolant Responsibly: Take your old coolant to an auto parts store or recycling facility.
- Check Hoses and Clamps: While you have the system open, it’s a good time to inspect hoses for cracks or leaks and check that clamps are secure.
- Bleed the Air Thoroughly: Air pockets are a common cause of overheating after a flush. Ensure you bleed the system properly.
Radiator Cleaning Hose Method Variations
There are a few minor variations to the radiator cleaning hose method that some people employ.
The Two-Bucket Method
Some enthusiasts use a two-bucket system for flushing. One bucket catches the initial dirty fluid, and a second bucket is used for the cleaner rinse water. This can help manage waste and ensure you’re truly flushing until clear.
Using a Flush Bladder/Adapter
For a more secure connection of the garden hose to the radiator opening, you can purchase a “flush bladder” or a specialized radiator flush adapter. These devices create a better seal, preventing water from spraying everywhere and ensuring more efficient flushing.
Frequently Asked Questions (FAQ)
Q1: How often should I flush my radiator?
A: It’s generally recommended to flush your cooling system every 30,000 to 50,000 miles or every 2-3 years, whichever comes first. However, always consult your vehicle’s owner’s manual for the manufacturer’s specific recommendations.
Q2: Can I use tap water to flush my radiator?
A: It’s best to use distilled water for flushing and for mixing with new antifreeze. Tap water contains minerals that can leave deposits in your cooling system, potentially causing blockages and reducing efficiency over time.
Q3: What happens if I don’t flush my radiator?
A: If you don’t flush your radiator regularly, old coolant can degrade, leading to corrosion and sediment buildup. This can clog passages, reduce cooling efficiency, and eventually cause your engine to overheat, leading to potentially expensive damage.
Q4: How do I know if the flush worked?
A: After a successful flush and refill, your car’s temperature gauge should remain in the normal range, even under load. The coolant should be clear and clean in the expansion tank.
Q5: Is it safe to flush a hot radiator?
A: Absolutely not. Never attempt to open the radiator cap or drain the system when the engine is hot. The coolant is under pressure and extremely hot, which can cause severe burns. Always wait for the engine to cool down completely.
Q6: Do I need to flush the heater core too?
A: Yes, the heater core is part of the cooling system. By running the engine with the heater on during the flush, you ensure that the heater core is also cleaned and flushed of any debris.
Q7: How much coolant do I need?
A: The amount of coolant your vehicle needs varies. Check your owner’s manual for the exact capacity of your cooling system. It’s usually best to buy a bit more than you think you’ll need to account for spills or topping off.
Q8: What if I can’t find the radiator drain plug?
A: If your radiator doesn’t have an accessible drain plug, the common alternative is to disconnect the lower radiator hose. Ensure you have a good drain pan positioned underneath before attempting to remove the hose.
By following these steps, you can effectively perform a radiator flush with a garden hose, keeping your vehicle’s cooling system in top condition and preventing costly repairs. This simple radiator flush hose method is a testament to how DIY maintenance can save you money and keep your car running smoothly.