
Want to know how to make lip scrub at home for softer lips? You absolutely can! Making a lip scrub at home is a simple, cost-effective, and natural way to achieve beautifully smooth and soft lips.
Dry, flaky lips can be a real nuisance. They can make lipstick look patchy and feel uncomfortable. But don’t worry! You can easily create your own exfoliating treatments right in your kitchen. This guide will walk you through everything you need to know about making a DIY lip scrub, focusing on natural ingredients and simple methods to help you achieve that perfect pout. We’ll explore different recipes, the benefits of regular exfoliation, and how to tailor your scrub to your specific needs. Get ready to say goodbye to dry lips and hello to a softer, smoother smile!
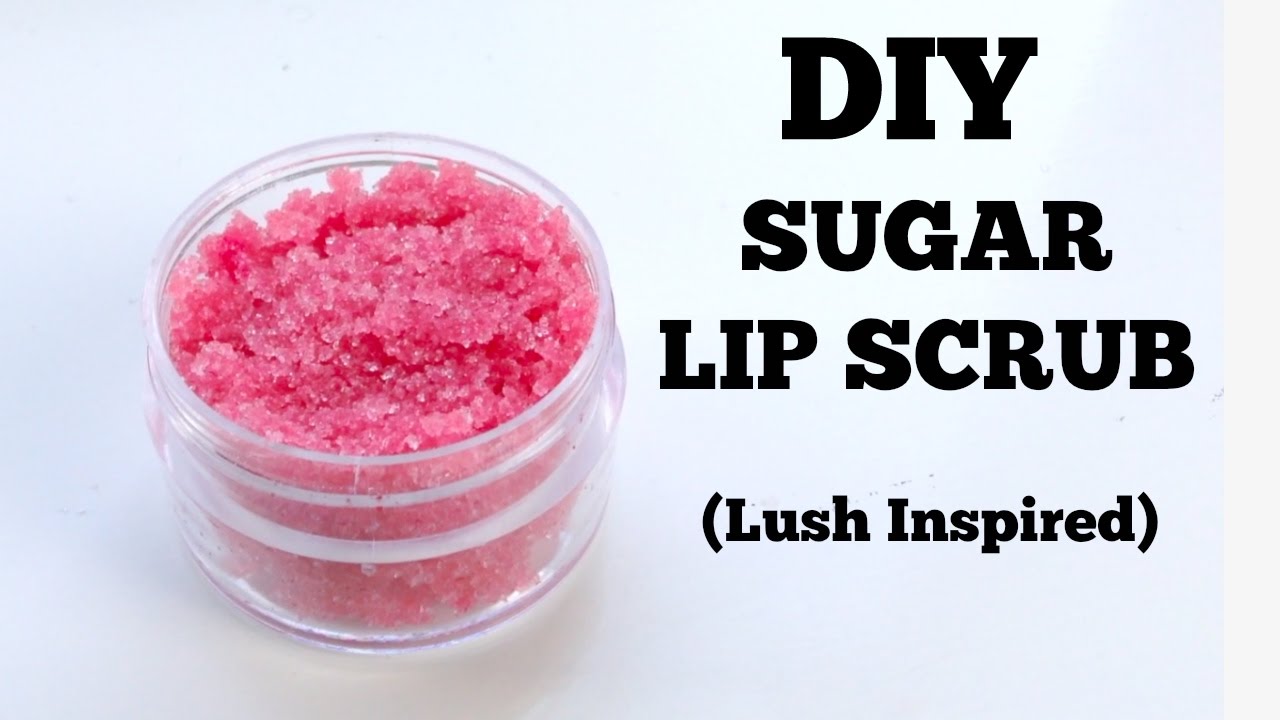
Image Source: i.ytimg.com
Why Exfoliate Your Lips?
Exfoliating your lips is crucial for maintaining their health and appearance. Our lips are constantly exposed to the elements – wind, sun, dry air, and even licking our lips – all of which can lead to dryness, chapping, and dead skin cell buildup. When these dead skin cells accumulate, they create a rough, flaky surface that not only looks unappealing but can also make your lips feel uncomfortable.
Regular exfoliation helps to:
- Remove dead skin cells: This is the primary benefit. By gently sloughing away the dry, flaky layer, you reveal the fresh, new skin underneath.
- Improve circulation: The gentle massage action during application can boost blood flow to the lips, giving them a healthier, plumper appearance.
- Enhance product absorption: Smooth lips are more receptive to moisture. After exfoliating, your lip balm or serum will penetrate more effectively, providing better hydration.
- Create a smooth canvas for makeup: For those who love wearing lipstick or gloss, a smooth base is essential. Exfoliation prevents color from settling into cracks and dryness.
- Prevent chapping and cracking: By keeping lips moisturized and free from dead skin, you reduce the likelihood of them becoming severely dry or cracked.
Think of it like maintaining any other part of your skin. Just as you exfoliate your face to keep it clear and radiant, your lips benefit from the same care.
The Magic of Homemade Lip Scrubs
Making your own homemade lip scrub offers a unique advantage: you control the ingredients. Many commercial lip scrubs contain synthetic fragrances, artificial colors, and preservatives that some people might react to. With a natural lip scrub, you know exactly what’s going on your delicate lip skin. You can choose ingredients that are not only effective but also nourishing and beneficial.
Here’s why going homemade is a fantastic choice:
- Natural Ingredients: You can use common kitchen staples like sugar, honey, oils, and fruits.
- Cost-Effective: Creating your own scrub is significantly cheaper than buying pre-made ones.
- Customizable: You can tailor the scent, texture, and even the ingredients to suit your preferences and any sensitivities.
- Freshness: You can make small batches as needed, ensuring your scrub is always fresh and potent.
- Eco-Friendly: It reduces packaging waste associated with commercial products.
You’re not just making a scrub; you’re crafting a little pot of lip-loving goodness!
Key Ingredients for Your Lip Scrub Creations
The beauty of DIY lip scrub recipes lies in their simplicity and the versatility of common pantry items. Most recipes will include two main components: an exfoliant and a binder/moisturizer.
The Exfoliants (The Scrubbers)
These are the ingredients that physically slough away dead skin cells.
- Sugar: This is the most popular choice.
- Granulated Sugar: Its medium grain provides effective, yet gentle, exfoliation. It dissolves easily, making it a great option.
- Brown Sugar: A bit softer than granulated sugar, brown sugar is excellent for sensitive lips. It also contains molasses, which has trace minerals.
- Coffee Grounds: Fine coffee grounds are excellent exfoliants. Caffeine is also believed to have antioxidant properties and can help improve circulation.
- Oatmeal: Finely ground oatmeal can be a very gentle exfoliant, especially good for very sensitive skin.
The Binders & Moisturizers (The Smoothers)
These ingredients hold the exfoliant together, add moisture, and help nourish your lips.
- Honey: A natural humectant, honey draws moisture to the skin. It’s also known for its antibacterial and anti-inflammatory properties, making it ideal for healing chapped lips. Raw honey is often preferred for its higher nutrient content.
- Oils: These provide hydration and slip.
- Coconut Oil: A highly moisturizing oil that’s solid at room temperature, making it easy to work with. It’s rich in fatty acids that nourish the skin.
- Olive Oil: Another excellent emollient, rich in antioxidants and vitamins. Extra virgin olive oil is a great choice.
- Almond Oil: Light and easily absorbed, almond oil is rich in Vitamin E, which is great for skin health.
- Jojoba Oil: Closely resembles the natural oils produced by our skin, making it easily absorbed and highly effective.
- Other Beneficial Additions:
- Yogurt: Contains lactic acid, a mild alpha-hydroxy acid (AHA), which can help with gentle chemical exfoliation.
- Lemon Juice (in moderation): A natural astringent and contains Vitamin C. However, use sparingly as it can be photosensitizing and irritating for some. Always patch test.
- Vitamin E Oil: A potent antioxidant that helps repair and protect skin.
- Essential Oils (use with extreme caution and dilution): Peppermint or spearmint can provide a pleasant tingling sensation and plumping effect. Lavender can be soothing. Always research and use food-grade or cosmetic-grade essential oils, and dilute them properly.
Popular Lip Scrub Recipes for Softer Lips
Here are some of the best lip scrub recipes you can whip up at home, each with its unique benefits.
The Classic Sugar Lip Scrub
This is the most straightforward and popular sugar lip scrub recipe, perfect for beginners.
Ingredients:
- 1 tablespoon granulated sugar
- 1 teaspoon honey
- 1/2 teaspoon olive oil or melted coconut oil
Instructions:
- In a small bowl, combine the sugar, honey, and oil.
- Mix well until you have a paste-like consistency.
- If it’s too dry, add a tiny bit more oil. If it’s too wet, add a pinch more sugar.
The Nourishing Honey and Coconut Oil Lip Scrub
This recipe is incredibly moisturizing, thanks to the potent duo of honey and coconut oil. This is a fantastic coconut oil lip scrub.
Ingredients:
- 1 tablespoon brown sugar (or granulated sugar)
- 1 teaspoon raw honey
- 1 teaspoon melted coconut oil
Instructions:
- Gently melt the coconut oil if it’s solid.
- In a small bowl, mix the sugar and honey first.
- Add the melted coconut oil and stir until well combined.
- The texture should be moist but not too oily. Adjust with a little more sugar or oil if needed.
The Invigorating Coffee Lip Scrub
For those who love a bit of caffeine and a richer exfoliation, this coffee lip scrub is a treat.
Ingredients:
- 1 tablespoon finely ground coffee grounds
- 1 teaspoon honey
- 1 teaspoon olive oil or coconut oil
Instructions:
- Combine the coffee grounds, honey, and oil in a small bowl.
- Stir until a uniform paste forms.
- This scrub has a slightly coarser texture due to the coffee grounds.
The Gentle Oatmeal and Honey Lip Scrub
If your lips are particularly sensitive or irritated, this gentle scrub is your best bet.
Ingredients:
- 1 tablespoon finely ground oats (use a coffee grinder or blender)
- 1 teaspoon honey
- 1 teaspoon almond oil or jojoba oil
Instructions:
- Grind your oats into a fine powder.
- Mix the ground oats with honey and your chosen oil.
- Stir until it forms a soft paste.
The Berry Blast Lip Scrub (Antioxidant Rich)
Berries are packed with antioxidants and can add a lovely natural tint.
Ingredients:
- 1 tablespoon granulated sugar
- 1/2 teaspoon mashed ripe berry (strawberry or raspberry work well)
- 1 teaspoon honey
- 1/2 teaspoon coconut oil or olive oil
Instructions:
- Mash a small piece of ripe berry into a pulp.
- Combine the mashed berry with sugar, honey, and oil.
- Mix thoroughly. Be aware that berry-based scrubs may have a shorter shelf life due to the fresh fruit.
How to Use Your Homemade Lip Scrub
Using your DIY lip scrub is simple and should be done gently.
Steps:
- Start with clean lips: Ensure your lips are free from any old lipstick or balm.
- Take a small amount: Scoop a pea-sized amount of your scrub onto your fingertip.
- Gentle application: Apply the scrub to your lips and gently massage in small circular motions. Focus on areas that are particularly dry or flaky. Avoid pressing too hard, as your lips are delicate.
- Let it sit (optional): For extra hydration, you can leave the scrub on for a minute or two.
- Rinse or wipe off: You can either rinse your lips with lukewarm water or gently wipe them clean with a damp cloth or tissue.
- Pat dry: Gently pat your lips dry with a soft towel.
- Follow with a balm: Immediately apply a rich lip balm, oil, or petroleum jelly to lock in moisture and protect your newly exfoliated lips. This step is crucial to keep your lips soft and hydrated.
Frequency: It’s generally recommended to exfoliate your lips 1-2 times per week. Over-exfoliating can lead to irritation and damage. Listen to your lips; if they feel sensitive, reduce the frequency.
Storing Your Homemade Lip Scrubs
Proper storage is key to maintaining the freshness and effectiveness of your homemade lip scrub.
- Airtight Container: Store your lip scrub in a clean, small airtight container. Small glass jars with lids are ideal.
- Cool, Dry Place: Keep the container in a cool, dry place away from direct sunlight and heat. A bathroom cabinet or a drawer works well.
- Shelf Life:
- Scrubs made with only sugar, honey, and oil can last for several weeks to a couple of months if stored properly.
- Scrubs containing fresh fruit or yogurt have a much shorter shelf life and should ideally be used within a week and stored in the refrigerator. Always check for any signs of spoilage before use.
- Hygiene: Always use clean fingers or a small spatula to scoop out the scrub to prevent introducing bacteria into the container.
Tailoring Your Lip Care Routine
Creating the best lip scrub recipe is about finding what works best for you. Consider these factors when customizing:
- Lip Sensitivity: If you have very sensitive lips, opt for finer exfoliants like brown sugar or finely ground oats. Use gentle oils like jojoba or almond oil.
- Dryness Level: For extremely dry or chapped lips, a honey lip scrub with a good amount of oil (coconut or olive) is excellent. The added moisture is paramount.
- Desired Scent/Feel: Experiment with different oils. Almond oil has a subtle nutty scent, coconut oil is tropical, and olive oil is neutral. You can also add a tiny drop of food-grade peppermint extract for a refreshing feel, but be cautious with essential oils.
- Dietary Considerations: If you tend to lick your lips, ensure your ingredients are palatable. Honey and sugar are perfectly safe to ingest.
The “Best Lip Scrub Recipe” is Subjective
What constitutes the “best lip scrub recipe” is highly personal. It depends on your skin type, your ingredient preferences, and the results you’re looking for. The recipes provided are excellent starting points. Feel free to mix and match ingredients to find your perfect blend. For instance, you might find that a blend of brown sugar and almond oil is your ideal exfoliant, while someone else prefers coffee grounds with coconut oil.
Pro Tips for Extra Soft Lips
Beyond the scrub itself, consider these tips for truly kissable lips:
- Hydrate from Within: Drink plenty of water throughout the day.
- Protect Your Lips: Use a lip balm with SPF during the day, especially in sunny or windy conditions.
- Avoid Licking Your Lips: While tempting, this actually dries out your lips further.
- Consider a Lip Mask: For intense overnight treatment, apply a thick layer of petroleum jelly or a rich lip balm before bed.
- Patch Test: If you’re trying a new ingredient, especially essential oils or lemon juice, do a small patch test on your inner arm first to check for any reactions.
Common Questions About Homemade Lip Scrubs
Here are answers to some frequently asked questions about making and using lip scrubs.
How often should I use a lip scrub?
It is generally recommended to use a lip scrub 1-2 times per week. More frequent use can irritate your lips.
Can I use any kind of sugar?
Yes, you can use granulated sugar, brown sugar, or even caster sugar. Brown sugar is a bit gentler than granulated sugar.
How long does homemade lip scrub last?
Lip scrubs made with only sugar, honey, and oil can last for several weeks to a couple of months if stored in an airtight container in a cool, dry place. Scrubs containing fresh fruit or yogurt should be used within a week and stored in the refrigerator.
What should I do after exfoliating my lips?
After exfoliating and rinsing, it’s crucial to apply a nourishing lip balm or petroleum jelly to moisturize and protect your lips.
Can I make a lip scrub without honey?
Absolutely! If you don’t have honey or prefer not to use it, you can replace it with another liquid moisturizer like olive oil, coconut oil, or even a bit of aloe vera gel.
My lip scrub feels too dry. What can I do?
Add a little more liquid ingredient, such as oil or honey, a few drops at a time, until you reach a paste-like consistency.
My lip scrub feels too wet. What can I do?
Add a little more of your chosen exfoliant (sugar, coffee, oats) until the desired texture is achieved.
Can I add essential oils to my lip scrub?
Yes, but with extreme caution. Use only 1-2 drops of a food-grade or cosmetic-grade essential oil (like peppermint or spearmint) per batch. Always dilute properly and ensure you don’t have sensitivities. Avoid citrus oils, as they can cause photosensitivity.
Is it safe to ingest lip scrub?
While the ingredients used in most homemade lip scrubs are edible (sugar, honey, oils), the purpose is exfoliation, not consumption. Try not to ingest large amounts.
Achieving soft lips is within reach, and a DIY lip scrub is your secret weapon. By using simple, natural ingredients, you can create effective treatments that leave your lips feeling smooth, hydrated, and revitalized. Experiment with these recipes, find your favorite combination, and enjoy the benefits of regular, gentle exfoliation. Your smile will thank you!